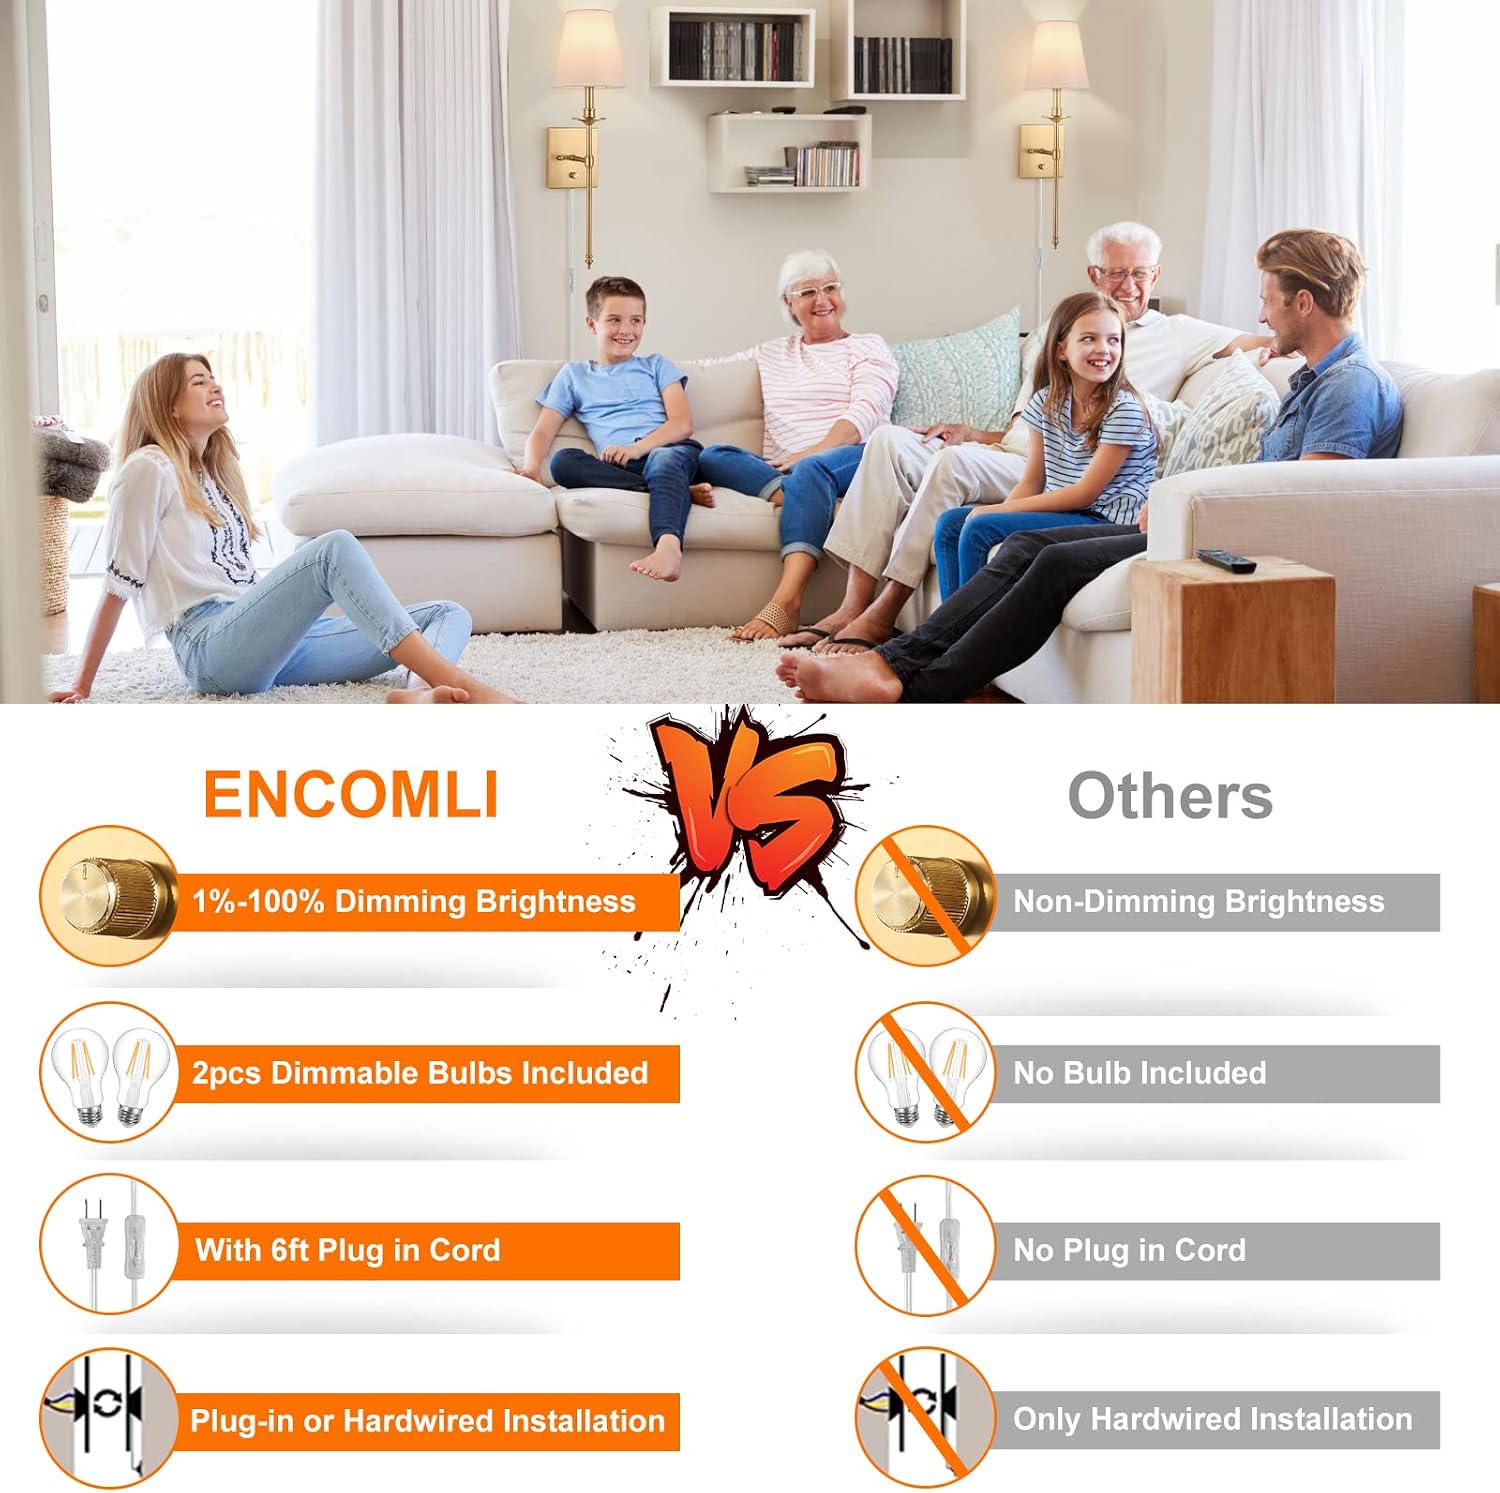
Most wall sconces — those single-arm or shade-on-the-wall light fixtures that create that warm, layered glow in magazine bedrooms and boutique hotel lobbies — require an electrician to run wire inside your wall and connect to a junction box. That’s a $200–$600 job minimum, plus drywall patching, before you’ve even bought a fixture. Plug-in sconces solve this entirely: they have a cord that runs to a standard outlet, just like a lamp. Done right, they’re visually indistinguishable from hardwired fixtures. Done carelessly, the exposed cord looks like an afterthought. This guide covers how to pick the right plug-in sconce for your space, manage the cord so it disappears, and make a confident call on which tier of product is actually worth the money.
Why Plug-In Sconces Fool People (When You Choose Correctly)
The illusion breaks down at three points: the cord, the mounting plate, and the shade geometry. Fix all three and no one will know.
The cord. Most plug-in sconces ship with a fabric-wrapped cord — twisted cloth in linen, black, or white. That cord is meant to drape cleanly down the wall to an outlet below. When the cord color matches your wall color closely, it reads as intentional — almost architectural. Apartment Therapy’s roundup of plug-in sconce picks notes that fabric cords in neutral tones “disappear against painted drywall when run vertically,” while coiled plastic cords always look budget regardless of fixture quality. This is the single biggest differentiator. If a fixture ships with a bare plastic cord, pass on it.
The mounting plate. Hardwired sconces mount to a junction box in the wall, which means their backplate sits flush against drywall with no visible cord exit. Plug-in sconces need the cord to exit somewhere — ideally from the bottom of the backplate or through the center, where it’s shielded by the arm or body of the fixture. Fixtures where the cord exits from an obvious, exposed notch in the side of the backplate look wrong instantly. When evaluating a product, look at how the manufacturer handles cord exit in the product photos. If they’re hiding it in the hero shot, that’s a flag.
Shade geometry and wall coverage. A proper hardwired sconce covers a 3–4 inch round backplate. The best plug-in versions use backplates of comparable size and finish. Oversized plastic mounting collars — sometimes used to hide the outlet cord connection — read as cheap and add visual bulk that no finish upgrade can save.
The Cord-Management Decision Tree
Here’s the practical fork in the road. You have two real options for handling the cord, and the right choice depends on your wall and outlet placement:
Option A: Run the cord down the wall to a floor-level outlet. This works best in bedrooms, where a nightstand or headboard partially blocks the lower wall. The cord runs vertically behind or beside furniture. Use a cord cover channel — a flat plastic or aluminum raceway that mounts flush to the wall and paints to match — if the cord section below furniture is exposed. This Old House’s installation guides recommend paintable PVC raceways for exactly this scenario; they cost roughly $10–$20 for a 5-foot section at hardware stores and, once painted, are genuinely invisible.
Option B: Hide the cord inside the wall using a cord concealment kit. These kits — sometimes called “in-wall cord hiders” — let you feed the cord inside the wall between two low-voltage wall plates, with no electrical work required. One plate sits behind the sconce, the other sits near the outlet. The cord runs inside the wall cavity, appearing to be hardwired. This method is the gold standard for the hardwired look. The NEC (National Electrical Code) permits low-voltage and lamp cords to run inside wall cavities via these kits in most jurisdictions — but verify with local code, since some areas restrict it. Per Houzz community discussions on sconce installation, cord concealment kits are the most common recommendation for renters who want a permanent-looking result without actual electrical work.
By the numbers:
| Solution | Typical Cost | Hardwired Appearance | Renter-Safe |
|---|---|---|---|
| Exposed fabric cord, vertical drop | $0 add-on | Good (with matching color) | Yes |
| Painted PVC cord raceway | $10–$20 | Very good | Yes (removable) |
| In-wall cord concealment kit | $15–$30 | Excellent | Check lease |
| Licensed electrician, hardwired | $200–$600+ | Perfect | N/A |
How to Evaluate a Plug-In Sconce Before You Buy
You’re comparing finish, cord design, mounting execution, and dimmer compatibility. Here’s the decision framework.
Finish first — and match it across the room. Architectural Digest’s layered lighting guides consistently emphasize finish continuity as the factor most responsible for whether a room “looks designed” or “looks assembled.” If your door hardware is satin brass, your sconce should be satin brass or warm gold — not polished brass, which reads yellow under warm light. Matte black is the most forgiving finish for plug-in sconces because it contrasts intentionally against most wall colors, which makes the cord-management aspect less critical. Polished nickel and chrome are the least forgiving — every imperfection in cord management is visible.
Shade material determines the light quality. Linen and cotton shades diffuse light softly and read as elevated regardless of price point. White glass globes are clean and graphic. Metal shades with a downward-facing opening (pharmacy style) cast focused task light — good for reading nooks, not for ambient bedroom lighting. Be skeptical of thin plastic “faux linen” shades; across aggregated reviews on retailer sites, these are the most common source of disappointment in the $40–$80 price tier, with owners reporting that the seams show when lit and the material looks obviously synthetic.
Check the socket type and wattage rating before buying a bulb. Most plug-in sconces use an E26 (standard medium base) or E12 (candelabra base) socket. Per Energy.gov’s LED lighting guidance, LED bulbs in the 4–8W range now replace 40–60W incandescents at equivalent lumen output. For a bedside sconce, 400–600 lumens per side is typically right — warm enough to read by without blowing out the atmosphere. If the fixture is rated for 60W max, a standard 6W LED is well within spec and runs cool.
Dimmability is non-negotiable at the mid-tier and above. Here’s the tradeoff that catches people: plug-in sconces can be dimmed, but only if you use a plug-in dimmer adapter between the cord and the outlet, and only if your bulb is rated dimmable. Non-dimmable LEDs on a dimmer will buzz, flicker, or die early. Dimmable LEDs on a non-dimmer work fine. So buy dimmable LEDs by default ($2–$4 per bulb premium) and add a plug-in dimmer adapter ($10–$20) if ambiance matters. Owners consistently report that this $15 addition transforms a $60 sconce into something that feels like a $200 fixture — the ability to dial down to 10% at night is the actual luxury you’re buying.
Price Tier Tradeoffs: Where to Spend, Where to Save
$30–$80 (Entry tier). The fixture mechanics here are serviceable, but the finishing details — cord quality, backplate size, socket centering in the shade — are inconsistent. Best use case: a room where the sconce is an accent rather than a focal point (hallway, kids’ room, rental staging). Look for metal construction over plastic; owners in this tier report that all-metal fixtures hold up significantly better over 2–3 years of use than mixed-material alternatives.
$80–$200 (Mid-tier sweet spot). This is where plug-in sconces start to reliably pass as hardwired. Manufacturers at this price point typically invest in better backplate tolerances, cleaner cord exit design, and fabric cords in a wider range of colors. Apartment Therapy editors and Houzz community contributors both consistently identify this tier as the one where “it looks like you spent more” applies most accurately. For a primary bedroom or dining room flanking installation, this is the range to target.
$200–$500+ (Designer plug-in). Yes, this exists. Several Visual Comfort and Hudson Valley Lighting fixtures are available in plug-in configurations — the same solid brass bodies and hand-applied finishes as their hardwired counterparts, simply with a fabric cord added. The cord-management question still applies, but the fixture itself is indistinguishable from a hardwired installation once mounted. If you’re specifying a high-finish room and the budget allows, a $350 plug-in sconce with proper cord concealment is a legitimate alternative to a $350 hardwired fixture plus $400 in electrical labor.
The Decision Rules
If your wall color is white or very light and you want zero cord visible: use an in-wall cord concealment kit. It’s a 45-minute DIY job, costs under $30, and produces a genuinely hardwired appearance.
If you’re a renter who can’t modify walls: run a fabric cord in a color matched to your wall, drop it vertically, and end it at furniture or baseboard level. Add a painted PVC raceway for any exposed section below furniture height.
If dimmability matters (bedroom, dining room): buy dimmable LED bulbs and a plug-in dimmer adapter from the start. This is not optional for atmosphere lighting — it’s the feature doing the most work.
If the room has a strong finish direction (aged brass, matte black, polished nickel): don’t compromise on finish match for the sake of price. A $120 sconce in exactly the right finish beats a $60 sconce in an approximation, every time. Finish inconsistency is the mistake that makes a thoughtfully arranged room look accidental.
If you’re staging a home for sale: plug-in sconces in a primary bedroom flanking the bed are among the highest-return lighting additions per Houzz staging guidance — they create the layered, hotel-quality light that photographs well and reads as “finished” to buyers, with zero electrical cost.
The underlying principle across all of these: plug-in sconces don’t telegraph budget — cord management does. Solve the cord, and the fixture gets to do its job.