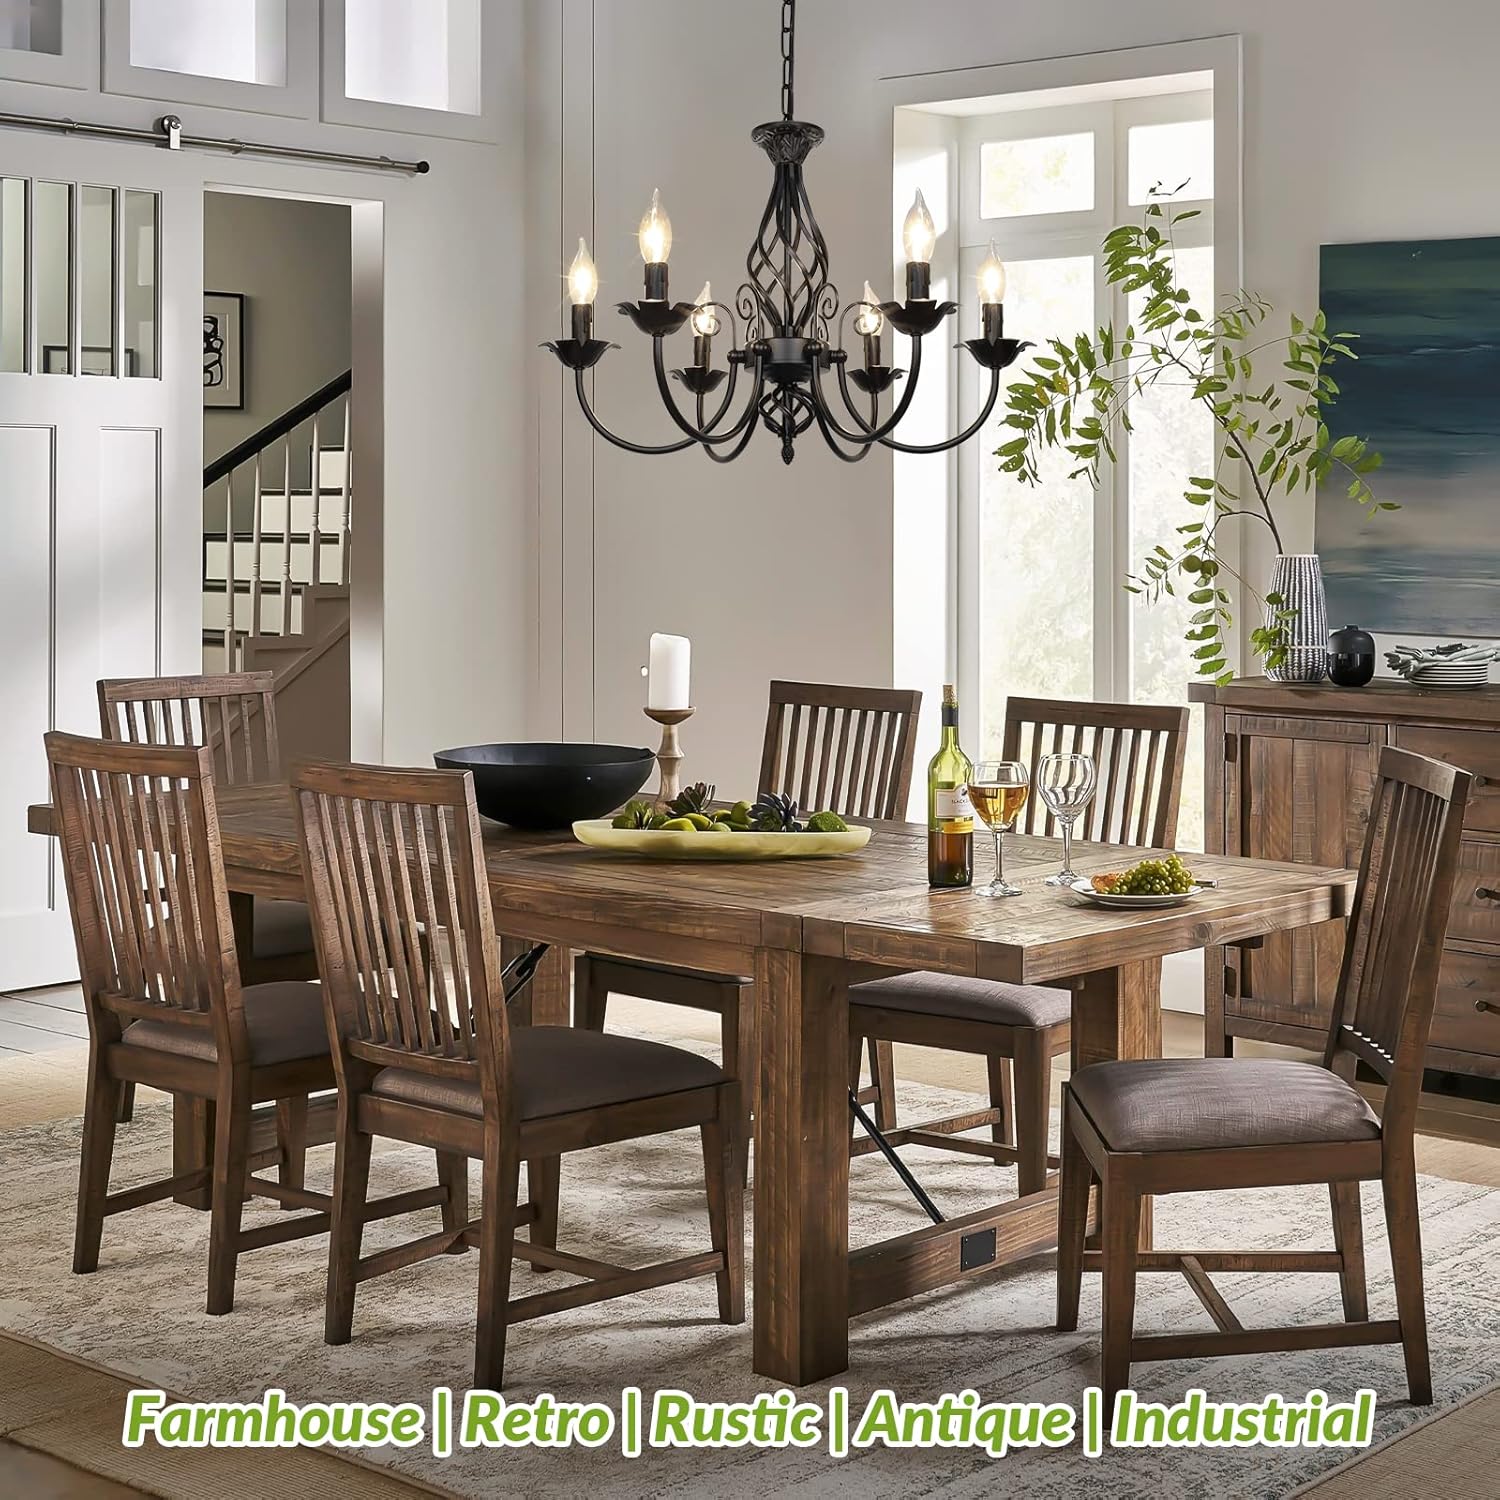
If your living room has exactly one light source — a ceiling fixture in the center of the room — you already know the problem, even if you haven’t named it. The room looks flat when the overhead is on, cave-like when it’s off, and you can never quite find the setting that feels right for movie night, a dinner party, and Sunday morning reading all in the same space. That’s not a dimmer problem. It’s a planning problem.
Layered lighting is the practice of distributing three distinct types of light across a room: ambient (the general fill light that lets you see the whole space), task (focused light aimed where you actually do things), and accent (directed light that highlights architecture or objects). Each layer serves a different function. Used together, they let you dial the room’s mood up or down without any single fixture doing all the heavy lifting. This guide walks you through exactly how to plan and execute all three in a living room — with sizing rules, circuit strategy, and clear if/then decision rules at each step.
Why the Single-Overhead Fixture Always Loses
A single ceiling fixture is an ambient-only solution, and ambient light alone produces something designers call flat illumination — even brightness across the room with no depth, shadow, or focal points. The Illuminating Engineering Society’s Lighting Handbook notes that human perception of a space as comfortable and dimensional depends on controlled contrast between lit and unlit zones, not on uniform foot-candle levels across a surface.
The practical consequence: even an expensive statement chandelier, run solo at full brightness, will make your living room look like a waiting room. Run it dim, and the corners go dead. Neither solves the problem.
The fix isn’t a better overhead fixture. It’s supplementing that fixture with sources that operate independently, at different heights, aimed at different targets. Once you have all three layers on separate switches or dimmers, you can compose the room the way you compose a photograph — with intentional light and intentional shadow.
Layer 1: Ambient — The Foundation You’re Probably Under-Specifying
Ambient light is your base layer. It doesn’t need to be bright; it needs to be even enough that no corner reads as completely dark. Most living rooms are under-lit at the ambient level not because the fixture is too small, but because a single point source can’t cover 300+ square feet without harsh hot-spots directly below it.
The fix is distribution, not wattage.
For living rooms between 200–400 square feet, the goal is to achieve roughly 10–20 foot-candles of ambient light across the main seating area. Per Energy.gov guidance on residential lighting levels, living rooms sit at the lower end of interior illumination needs precisely because they’re multi-purpose social spaces, not task-intensive kitchens or bathrooms.
Practical ambient options by scenario:
- Rooms with a center medallion or tray ceiling: A semi-flush or flush-mount with a wide diffuser shade (linen, frosted glass, or opal acrylic) distributes light across a broader cone than a bare-bulb chandelier. Keep the fixture’s rated output between 800–1,600 lumens for a typical 12×16 room — enough to see comfortably, not enough to wash out everything else.
- Rooms with 9-foot-plus ceilings: A chandelier or pendant works, but treat it as one of your ambient sources, not the only one. Recessed cans on a separate circuit (placed 18–24 inches from walls per This Old House’s recessed lighting spacing guide) wash the perimeter and eliminate the dead-corner problem entirely.
- Rooms with no ceiling fixture at all (common in older apartments): Torchieres — floor lamps that aim upward and bounce light off the ceiling — are the fastest path to true ambient fill. Two torchieres in opposite corners of a 300-square-foot room approximate the output of a center fixture without any electrical work.
The dimmer is non-negotiable here. Ambient light that can’t be reduced is the single-overhead problem in a different costume. Lutron’s Lighting Control Design Guide recommends that every ambient circuit in a multi-use residential space be independently dimmable. For smart-home integrators: this is the circuit where a Lutron Caséta or Diva dimmer pays for itself in daily use.
Layer 2: Task — Aimed Where You Actually Sit
Task lighting is the layer most living room plans skip entirely, and it’s why reading in the evening feels like a strain even with the overhead on. Task light is directional — it puts 30–50 foot-candles of light on the surface or activity zone that needs it, without lighting the whole room to that level.
In a living room, task zones are almost always one of three things: a reading chair or sofa end, a desk or home office corner, or a surface where someone works with their hands (craft table, instrument area, puzzle surface).
The tool for each zone is a swing-arm or adjustable lamp. The swing-arm sconce is the most space-efficient option — it mounts to the wall, keeps the floor clear, and puts the light source exactly where it needs to be relative to seated eye height (approximately 48–52 inches from the floor to the shade bottom, per standard ergonomic guidance from the Illuminating Engineering Society). A plug-in swing-arm sconce is a legitimate choice for renters or anyone who doesn’t want to cut drywall; the cord can be routed along baseboard trim or wall cord cover.
Floor lamps with a directed shade — not a torchiere, but a pharmacy-style or arc lamp with a downward-facing shade — work equally well for seating areas in the center of a room where wall mounting isn’t practical.
By the numbers:
| Task Zone | Recommended Lumens at Surface | Suggested Source |
|---|---|---|
| Reading chair/sofa end | 400–800 lm directed | Swing-arm sconce or floor lamp |
| Desk / work surface | 800–1,200 lm directed | Articulating desk lamp or adjustable sconce |
| Side table / occasional task | 200–400 lm | Table lamp with opaque shade |
One circuit note: task lamps in a living room are almost always plug-in, which means they’re on the room’s standard outlets — not a dedicated switched circuit. If you’re running smart bulbs in task lamps, keep them on a hub that can be grouped independently from your ambient circuit. Apartment Therapy’s research into smart-lighting setups consistently flags the mistake of grouping all room lights into one scene, which defeats the purpose of layering.
Layer 3: Accent — The Layer That Makes the Room Feel Finished
Accent lighting is the one that separates a thoughtfully designed room from a merely well-lit one. Its job is to direct a narrow beam at something worth looking at: a piece of art, a built-in bookshelf, an architectural detail like a coffered ceiling, a fireplace surround, or a textural wall.
The standard ratio from architectural lighting practice (referenced in Architectural Digest’s layered lighting coverage) is that accent light should be 3–5 times brighter than the ambient light it sits against. That contrast ratio is what makes the object pop — it’s the same principle a museum uses to make a painting look significant in a large gallery.
Accent sources to know:
- Picture lights: Hardwired or plug-in fixtures that mount directly to a frame or the wall above it. Best for single pieces of art. Finish matters here — an aged brass picture light on a black matte frame reads as intentional; a chrome picture light on the same frame reads as an afterthought. Match the metal to at least one other finish in the room.
- Adjustable recessed trims (directional cans): If you’re already running recessed lighting for ambient, swap one or two cans near the art wall for adjustable-head trims. These can be aimed at a 15–30 degree angle from vertical to hit a wall-mounted piece without glare.
- LED strip lighting: Tucked into the underside of a floating shelf or the top of a bookcase, LED strip lighting creates a glow that makes the shelf appear to float and adds depth to the vertical plane of the room. Houzz editors note this as one of the highest-impact, lowest-cost accent upgrades — strips run $15–$40 per meter at the quality level where color rendering (CRI 90+) is good enough to not distort the color of books or objects.
- Uplights: Small canisters on the floor aimed upward at a plant, sculpture, or architectural column. They cost almost nothing to add and create dramatic shadow patterns that no overhead source can replicate.
The finish-compatibility check before you buy: Accent fixtures are the most visible hardware in the room because they’re often at eye level or aimed toward focal points. Before specifying, confirm that the metal finish on your accent sources is either identical to or a deliberate contrast with your ambient fixtures. Mixing aged brass ambient with polished nickel accents in the same room creates visual noise. Mixing aged brass with matte black is a defensible design decision. The line between “collected over time” and “didn’t plan this” is usually just one degree of intentionality.
Wiring, Switching, and the Control Strategy That Holds It Together
All three layers only work if they can be operated independently. A room where ambient and accent are on the same switch — or where task lamps are always at full brightness — collapses back into the single-overhead problem the moment someone stops manually managing every lamp.
The minimum viable control setup:
- Ambient on a dimmer switch (single-pole or smart)
- Task lamps on switched outlets or smart plugs so they can be grouped into scenes
- Accent sources on a separate dimmer or smart switch
If you’re building into a Lutron Caséta or Philips Hue ecosystem, the living room is the single best room in the house to invest in scene programming. Per Lutron’s design guidance, a typical living room benefits from four scenes: full bright (cleaning, daytime), social (ambient + accent, task off), reading (task high, ambient low), and film (ambient very low, accent off or at minimum). Those four scenes cover roughly 90% of how the room actually gets used.
The Decision Rule
Here’s the if/then frame for wherever you are in your planning:
- If you have one ceiling fixture and no budget for electrical work: Add two plug-in torchieres for ambient distribution, one swing-arm plug-in sconce for task, and one picture light or LED strip for accent. Total budget: $120–$280. This solves the problem without touching a single wire.
- If you’re doing a renovation and have electrician access: Run ambient, task, and accent on three separate circuits with individual dimmers. This is the infrastructure investment that makes every future fixture upgrade easier.
- If you’re smart-home-first: Start with the control layer (Caséta dimmers, smart plugs) and work backward to fixture selection. The ecosystem constrains your bulb choices; knowing that before you buy fixtures saves expensive returns.
- If you’re specifying for a client or staging a sale: Lead with the accent layer. It’s the fastest visual change, it photographs best, and it signals “designer thought about this room” to anyone walking through.
The single-overhead problem isn’t a fixture problem. It’s a planning problem with a very clear solution — and now you have the layers, the numbers, and the decision tree to execute it.