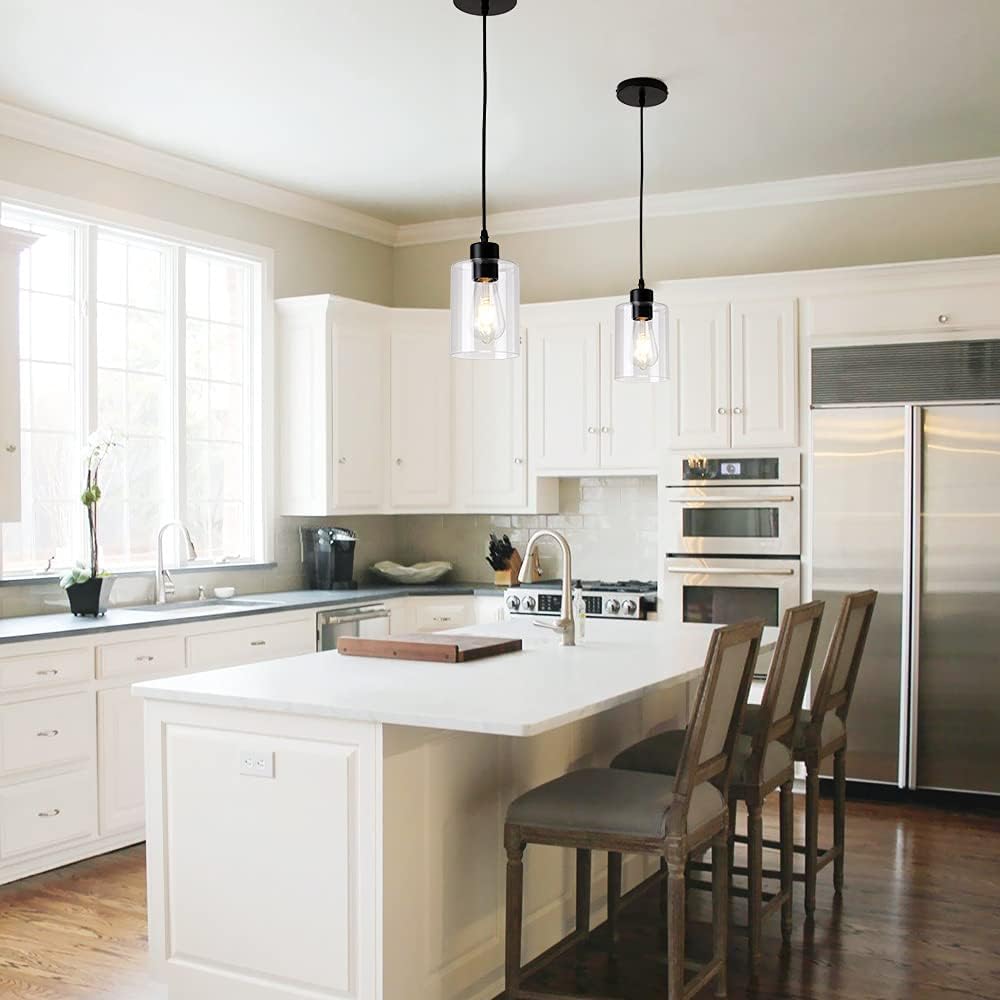
You ordered the pendants. They arrived. You hung them. And now they look vaguely wrong — maybe too cramped, maybe floating too high, maybe competing with each other in a way that reads as cluttered rather than curated. This is the most common outcome of choosing kitchen island pendant lights (the decorative fixtures that hang from the ceiling above a kitchen island work surface) without a formula — and it almost always comes down to three variables: pendant diameter, hanging height, and horizontal spacing between fixtures. Get those three numbers right before you buy, and the install looks like a designer did it. Get them wrong and you’re paying return shipping on a $600 fixture that looked perfect in the product photo.
This guide walks through the full decision framework — the formulas, the tradeoffs, and the “if X, then Y” rules that let you lock in a spec with confidence.
The Three Numbers You Need Before You Add Anything to Cart
Think of pendant placement as a geometry problem with three variables. You solve them in sequence because each one constrains the next.
1. Pendant diameter (how wide each fixture is)
The standard starting rule — cited consistently in residential lighting layout references, including guidance from the Lighting Design Lab’s residential guidelines — is that each pendant’s diameter should fall between one-quarter and one-third of the island’s width. For a 36-inch-wide island, that lands you in a 9–12 inch diameter range per pendant. For a 48-inch-wide island, you’re looking at 12–16 inches.
Why does this matter before you pick quantity or spacing? Because the diameter determines how much horizontal real estate each fixture consumes, which directly controls how many pendants can fit without crowding. Choosing a 20-inch-diameter drum shade on a 36-inch island is how you end up with one pendant that looks stranded — or two that nearly touch.
2. Hanging height (the bottom of the shade to the countertop)
The consensus across sources including Architectural Digest’s fixture sizing guide and Apartment Therapy’s pendant hanging coverage lands at 30–36 inches from countertop surface to the bottom of the pendant shade. That range keeps the fixture in your line of sight as a visual anchor without blocking eye contact across the island.
Two adjustments apply immediately:
- Ceiling height above 9 feet: Add approximately 3 inches of drop for every foot of ceiling height beyond 9 feet. A 10-foot ceiling warrants 33–39 inches of clearance from counter to bottom of shade.
- Open-plan sight lines: If the island is visible from a seating area or living room, err toward the taller end of the range (35–36 inches) so the pendants frame the space rather than bisect it at eye level.
The hanging height also has a ceiling-side constraint. You want at least 7 feet of clearance from the floor to the bottom of any pendant — period. In a standard 9-foot kitchen, that leaves roughly 24 inches of adjustable drop range to work with after accounting for the fixture’s own canopy-to-shade length. Measure your actual cord or rod length before ordering; many fixtures ship with a fixed 60-inch cord that requires a licensed electrician to shorten.
3. Horizontal spacing (center-to-center between pendants)
This is where most orders go wrong, because people treat spacing as a leftover — whatever’s left after they pick a pendant they love and decide on quantity. Flip that logic. Spacing should be a constraint you set first, then shop to fit.
The workable rule, consistent with Houzz’s kitchen lighting best-practice documentation: leave a minimum of 6 inches between the outer edges of adjacent pendants — and 9–12 inches if the pendants are larger than 12 inches in diameter or have an irregular silhouette (like a cage or an open frame). Less than 6 inches and the cluster reads as a single messy mass from across the room; more than 18 inches between edges and the fixtures feel unrelated.
The Math, Run Three Ways
Here’s the formula in its simplest form:
Number of pendants you can fit = (Island length − end clearance) ÷ (pendant diameter + inter-pendant gap)
End clearance — the empty space between the outermost pendant’s center and the island’s end — should be at least 6–9 inches on each side so fixtures don’t visually overhang the countertop edge.
By the Numbers
| Island Length | Pendant Diameter | Inter-Pendant Gap | Recommended Count | Center-to-Center Spacing |
|---|---|---|---|---|
| 48 in | 10 in | 12 in | 3 | 22 in |
| 60 in | 12 in | 12 in | 3 | 24 in |
| 72 in | 14 in | 12 in | 3 | 26 in |
| 84 in | 10 in | 14 in | 4 | 24 in |
The 72-inch island running three 14-inch pendants is the most common scenario in a standard open-plan kitchen renovation. The 84-inch island is where the three-vs.-four debate lives — and the math almost always tips toward four smaller pendants over three large ones, because four pendants at a narrower diameter maintain the minimum edge clearance while giving the island a more proportional rhythm. Architectural Digest’s fixture guidance makes the same call: when in doubt on a long island, increase quantity and decrease diameter rather than scaling up individual fixtures.
Odd-vs.-Even Count: The Debate Worth Having Before You Commit
Three pendants over an island is the canonical answer you’ll see in nearly every design publication. But “canonical” is not “always correct.”
Three pendants work best when the island has a natural visual center — a waterfall edge, a contrasting countertop section, or a sink — because the middle fixture anchors that focal point. The odd number also creates a hierarchy that reads as intentional.
Two pendants are underrated for islands under 54 inches. Two fixtures spaced at equal thirds of the island length feel balanced and give each pendant room to breathe. Two larger-diameter pendants (15–18 inches) on a 48-inch island can be a stronger design move than three smaller ones — fewer elements, more presence. This is especially worth considering when the pendant has a complex silhouette (articulated metalwork, a pleated shade, an exposed bulb cluster) that benefits from visual breathing room.
Four pendants make sense on islands 80 inches or longer, particularly in kitchens where the island doubles as a dining counter. Four fixtures in a linear run create a rhythm that reads as deliberate rather than repetitive — but only if the pendant style is relatively simple. Four globe pendants over a wood-topped island is a clean, resolved look. Four ornate cage pendants in the same configuration read as noise.
The tradeoff to name explicitly: more pendants means more ceiling medallions, more canopies, more cord management, and more dimmer load to calculate. Each fixture draws wattage; if you’re running four pendants on a single circuit with a Lutron Caséta dimmer, verify the total wattage load against the dimmer’s rated capacity (typically 150–600 watts depending on the model and bulb type). Lutron’s own specification documentation covers this calculation, and it’s worth running before you commit to a four-pendant configuration on a shared circuit.
Pendant Style Changes the Formula — Here’s How
The spacing rules above assume a closed shade — a drum, globe, or cone where the outer diameter is clearly defined. Open or irregular silhouettes require adjustments.
Linear suspension fixtures (a single long bar with multiple integrated bulbs or shades) sidestep the multi-pendant spacing problem entirely. One fixture, one ceiling canopy, and the spacing is baked into the bar’s design. For islands between 48 and 72 inches, a 36–48-inch linear pendant is often cleaner than three individual fixtures. The tradeoff: linear pendants don’t allow height-per-fixture adjustment, and they’re harder to replace if one socket fails.
Cage pendants and open-frame fixtures have an optical diameter that’s larger than their stated dimension because the negative space inside the frame visually bleeds outward. Add approximately 2–3 inches to the stated diameter when calculating inter-pendant gaps for open-frame designs. Apartment Therapy’s coverage of common pendant hanging mistakes specifically flags this: a 10-inch open cage pendant visually occupies closer to 13 inches of space.
Bell and flared shades direct light downward in a tighter cone than globes. If task lighting over the countertop is a priority — prep work, reading recipes — a bell shade with a downward-oriented Edison-style or LED filament bulb will give you better illumination coverage directly below. Globes diffuse light more evenly but with less intensity at the surface. Neither is wrong; they’re solving for different things. Name that tradeoff before ordering.
Finish and Scale: The Compatibility Check Most People Skip
You’ve got the spacing dialed in. Before you finalize the order, run one more check: finish alignment with the rest of the kitchen’s hardware.
The standard practitioner rule — consistent across design editorial including Elle Decor’s kitchen design coverage — is that pendant finish should match or intentionally contrast with exactly one other dominant metal in the space. Cabinet hardware and faucet finish are the two most common anchors. Aged brass pendants against polished chrome cabinet pulls create finish conflict; aged brass against matte black pulls creates intentional contrast. Polished nickel against polished nickel hardware reads as coordinated. Three different metals in the same sightline reads as unplanned.
Scale plays into this too. In a kitchen with substantial cabinetry — tall uppers, deep crown molding, strong visual mass — a pendant that’s too delicate will look apologetic. A kitchen with minimal, flat-front cabinetry can handle a more refined, slender fixture. The general principle from Lighting Design Lab’s residential guidance: fixture visual weight should track with architectural weight.
The Decision Rule
Run this before you add to cart:
- If island ≤ 54 inches: Two pendants, 12–15 inch diameter, 30–36 inches from counter to shade bottom.
- If island is 55–72 inches: Three pendants, 10–14 inch diameter, spaced 22–26 inches center-to-center.
- If island is 73–96 inches: Three larger or four smaller pendants; run the edge-clearance formula to decide. Default to four if diameter above 12 inches crowds the ends.
- If you’re on a single dimmer circuit: Calculate total wattage across all pendants and verify against dimmer spec before ordering.
- If the silhouette is open or irregular: Add 2–3 inches to stated diameter for spacing calculations.
The spacing formula prevents the return. The finish check prevents the regret. Get both right and the install looks like it was always supposed to be there.