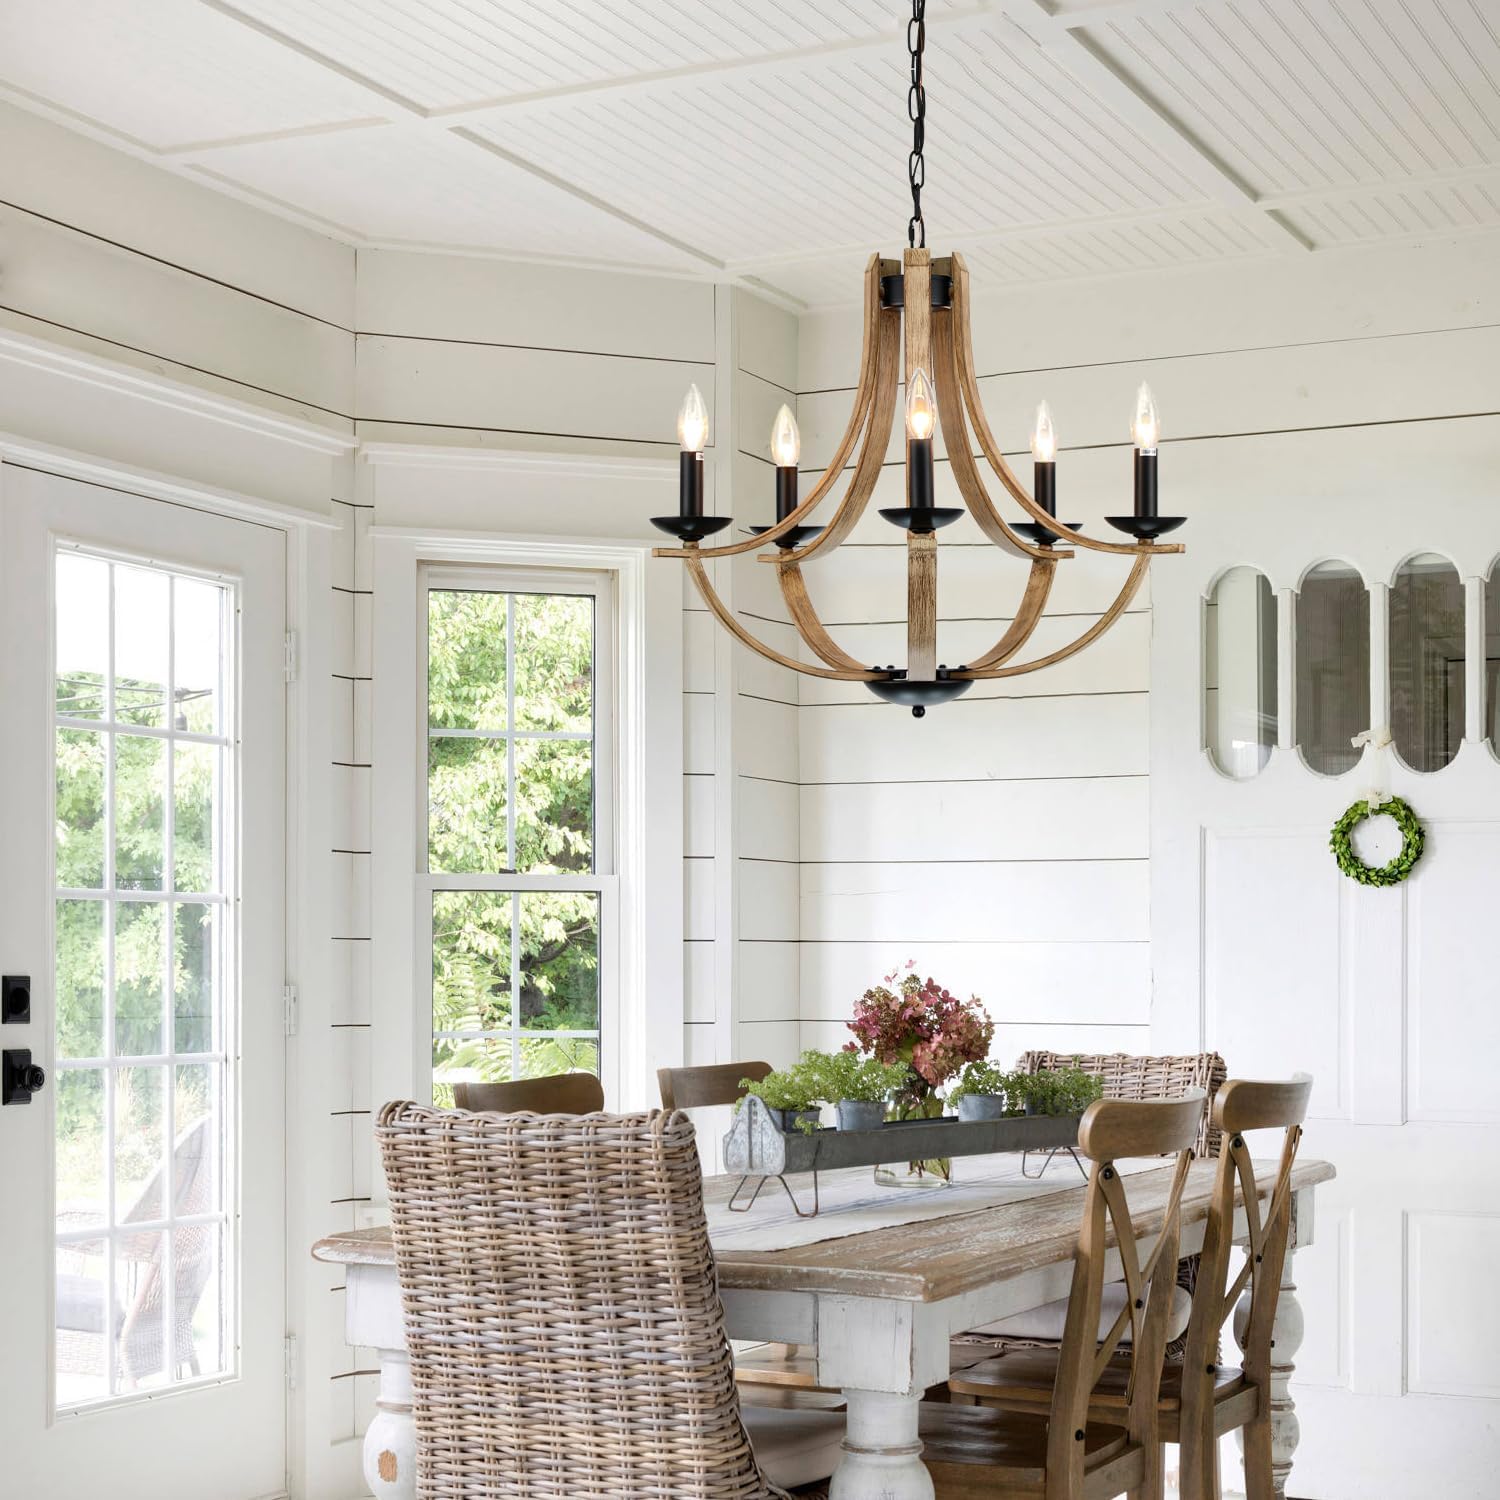
You’ve been circling a shortlist of farmhouse chandeliers for a week. The listing photos look warm and handcrafted. The price is reasonable. But something’s nagging at you — you can’t tell from a JPEG whether that “faux wood” finish will read as intentional texture or plastic cosplay once it’s hanging over your dining table. That uncertainty is the real problem this guide solves. A farmhouse chandelier, broadly, is a ceiling fixture designed to evoke natural materials — raw wood, woven rattan (a palm-derived fiber commonly used in basket weaving and furniture), and drip-candle-style arms — in a way that feels warm and handmade rather than polished. They’ve expanded well beyond barn-conversion living rooms: when the texture and finish are right, they read as elevated organic design that fits transitional, coastal, and even contemporary-eclectic interiors. But quality in this category is genuinely uneven, and the gap between a $90 fixture that looks like a farmhouse-themed prop and a $180 fixture that looks intentional is almost entirely readable before you buy — if you know what to look for.
Why “Farmhouse” Is a Style Label, Not a Quality Grade
The farmhouse chandelier category gets oversimplified as rustic-or-not. That framing misses the more useful question: does this fixture have visual specificity, or is it generic? Reviewers of faux-wood texture chandeliers in the mid-price range repeatedly note that a well-executed fixture reads well outside overtly farmhouse rooms — a modern apartment, a transitional dining room — because the warm grain texture has enough material credibility to stand on its own. That’s a meaningful quality signal. Fixtures with convincing surface detail don’t depend on a themed room to look intentional.
The distinction matters because your fixture’s context will almost certainly shift over the life of a home. You’ll repaint. You’ll swap furniture. A chandelier with genuine visual weight holds up; one that only “works” against shiplap becomes a problem the moment you decide the shiplap is going.
What “visual weight” actually means in practice: It’s the combination of silhouette complexity, surface texture depth, and finish variation. A faux-wood beam arm with shallow, uniform grain pressing reads flat from across a room. One with color variation, grain relief you can see in raking light, and slight imperfections reads like material. When you’re evaluating listings, zoom in on the vendor’s detail shots — not the glamour hero image, but the close-up showing the arm or canopy. If the only available close-up is blurry or suspiciously absent, treat that as a yellow flag.
How to Read Quality Signals From a Listing (Before It Ships)
Faux Wood: The Three-Question Test
Ask these three questions about any faux-wood chandelier listing before you order:
1. Does the listing show a close-up under directional light? Vendors confident in their texture quality show the grain under raking light, which reveals depth. Flat overhead product shots hide shallow embossing.
2. Does the reviewer language say “looks like wood” or “looks like a picture of wood”? Aggregated owner reviews on Houzz’s farmhouse chandelier style guide threads consistently make this distinction — reviewers who are delighted use material language (“it has heft,” “you have to get close to tell”), while disappointed reviewers use reference language (“like a photo printed on plastic”).
3. Is the finish matte or satin rather than glossy? Wood grain photographed well is never shiny. A glossy faux-wood finish betrays the illusion from across the room because real wood doesn’t specularly reflect ambient light the way a lacquered surface does. This is visible in listing photos if you look at highlights on the arm surface.
Rattan and Woven Shades: Where Quality Lives in the Weave
Rattan woven shades — the pendant-style globes or drum shades you see on boho-adjacent farmhouse chandeliers — vary enormously in weave consistency. Tight, regular weave with consistent strand thickness reads as intentional craft. Loose, irregular weave with visible gaps that aren’t part of the design pattern reads as cost-cutting. The light effect matters here too: a well-woven rattan shade produces a warm, dappled pattern on surrounding walls and ceiling. An inconsistently woven shade creates an uneven, blotchy wash that’s hard to explain to a client or partner without sounding picky — but you’ll notice it every single evening.
One specific real-world note: buyers of rattan boho chandeliers in this price range consistently mention needing to supplement the written instructions with video tutorials to manage chain adjustment. This isn’t unique to one fixture — written instructions across this category are routinely underpowered for chain shortening. Plan for it. Before you buy any chain-hung chandelier, confirm whether the chain is decorative (covers a separate aircraft-cable support) or structural (the chain itself carries the load). The method for adjusting length differs significantly, and a video search specific to your fixture model is almost always more useful than the included instruction sheet.
Candle-Style Arms: E12 vs. E26 and Why It Matters for Dimming
Candle-style arms — the curved, tapered arms that hold small upward-facing “candle” bulb sockets — almost universally use E12 candelabra bases (the small-diameter socket, roughly 12mm across) rather than the standard E26 medium base (the common household socket at 26mm). This is not a problem by itself, but it has downstream consequences.
Dimming with E12 bulbs is more constrained than with E26. The LED candelabra bulb market has caught up considerably, but as Energy.gov’s “Lighting Choices to Save You Money” explains, not all LED bulbs — and especially not all small-base LED candelabra bulbs — are compatible with every dimmer switch. Many budget candelabra LEDs are not dimmable at all. Others are nominally dimmable but buzz, flicker, or drop out at the low end of the dimmer’s range unless you match the dimmer to the bulb brand.
The practical checklist before buying:
- Confirm the socket type (E12 vs. E26) in the product spec sheet — don’t assume from the photos.
- If you want to dim, buy bulbs and dimmer from the same ecosystem (Lutron maintains a published bulb-compatibility list that is the most reliable reference in this category).
- Budget for 10–20% more bulbs than arms. Candelabra bulbs fail faster under repeated dimming cycles, and having spares prevents the asymmetrical look of one dark arm.
The Rod-Length Problem (and What to Do When None of Them Fit)
Here is one of the most practically frustrating points in this category, and it’s underreported in most buying guides. Nearly every adjustable-rod chandelier ships with a small set of threaded rods — typically in increments of 6 or 12 inches — that you combine to reach your target drop length. The gap between “standard” options and what your specific ceiling height actually requires can be significant.
Owners of adjustable-rod chandeliers in this category have gone as far as cutting a rod in half and re-threading it to hit the right drop for their space — a solution that works but requires a die-and-tap set and patience most buyers don’t expect to need. Before you order, do this math:
By the Numbers: Drop Length Planning
| Ceiling height | Recommended fixture bottom from floor | Total drop budget |
|---|---|---|
| 8 ft | ~7 ft (84 in) | ~12 in total |
| 9 ft | ~7.5 ft (90 in) | ~18 in total |
| 10 ft | ~8 ft (96 in) | ~24 in total |
| Vaulted / 12 ft+ | ~8–8.5 ft (96–102 in) | ~36–48 in total |
As Architectural Digest’s “How to Choose the Right Chandelier Size for Every Room” notes, over-a-table installations should position the bottom of the fixture approximately 30–34 inches above the tabletop surface — not 7 feet from the floor — which can push drop requirements higher than the generic table above suggests.
Pre-purchase action: Before ordering, calculate your exact required drop: ceiling height minus your target fixture-bottom height, minus the canopy depth (usually 3–5 inches), minus the fixture body height. Email the vendor with that number and ask what rod combinations ship in the box. If the gap is more than 2 inches away from achievable, ask whether extension rods are sold separately, or plan to source a matching-diameter threaded rod from a hardware supplier. Do this before the fixture arrives, not after.
Assembly: Where Buyers Lose Confidence (And Shouldn’t)
A consistent theme in owner reviews of rustic farmhouse chandeliers across this price range: the hardest part of installation isn’t the electrical hookup — it’s the wire-twisting nuts (wire connectors, also called wire nuts, that join fixture wires to house wires by twisting them together). Farmhouse chandeliers in this category frequently have multiple arms feeding multiple sockets, which means 6–12 individual wire connections before you get to the house-wire junction. Doing that in a confined electrical box while supporting the fixture body is genuinely awkward.
Some fixtures in the brushed-gold segment of this category earn specific praise in owner accounts for arriving pre-assembled with arms already folded out — a real differentiator. If installation friction is a concern (you’re managing multiple chandeliers for a project, or the buyer is a first-time installer), a pre-assembled fixture eliminates the most error-prone step.
Weight and box rating: Per This Old House’s “How to Install a Ceiling Light Fixture,” standard electrical boxes are rated for fixtures up to 35 pounds. Most farmhouse chandeliers in the faux-wood and rattan category fall in the 10–25 lb range, but verify the listed weight against your box rating. If you’re replacing an existing fixture and don’t know whether your box is fan-rated (rated for dynamic load and heavier fixtures), probe it before hanging. A ceiling fan brace — an expandable bar installed between joists without cutting drywall — is a $15–25 solution that upgrades any box to handle up to 70 pounds, and it’s worth installing if you’re uncertain.
Fixture Tiers: What Your Budget Actually Buys
Not every buyer has the same ceiling height, installation tolerance, or finish priority. The following three tiers reflect how quality signals cluster across this category.
Entry-Level Faux-Wood and Rattan ($75–$120)
At this price point, grain texture is typically shallow and finish is often semi-gloss. Weave consistency in rattan shades varies unit to unit. Instructions are routinely underpowered. These fixtures are appropriate when: the ceiling is high enough that surface detail is viewed from distance, the room already has strong materials doing the design work, or the installation is temporary.
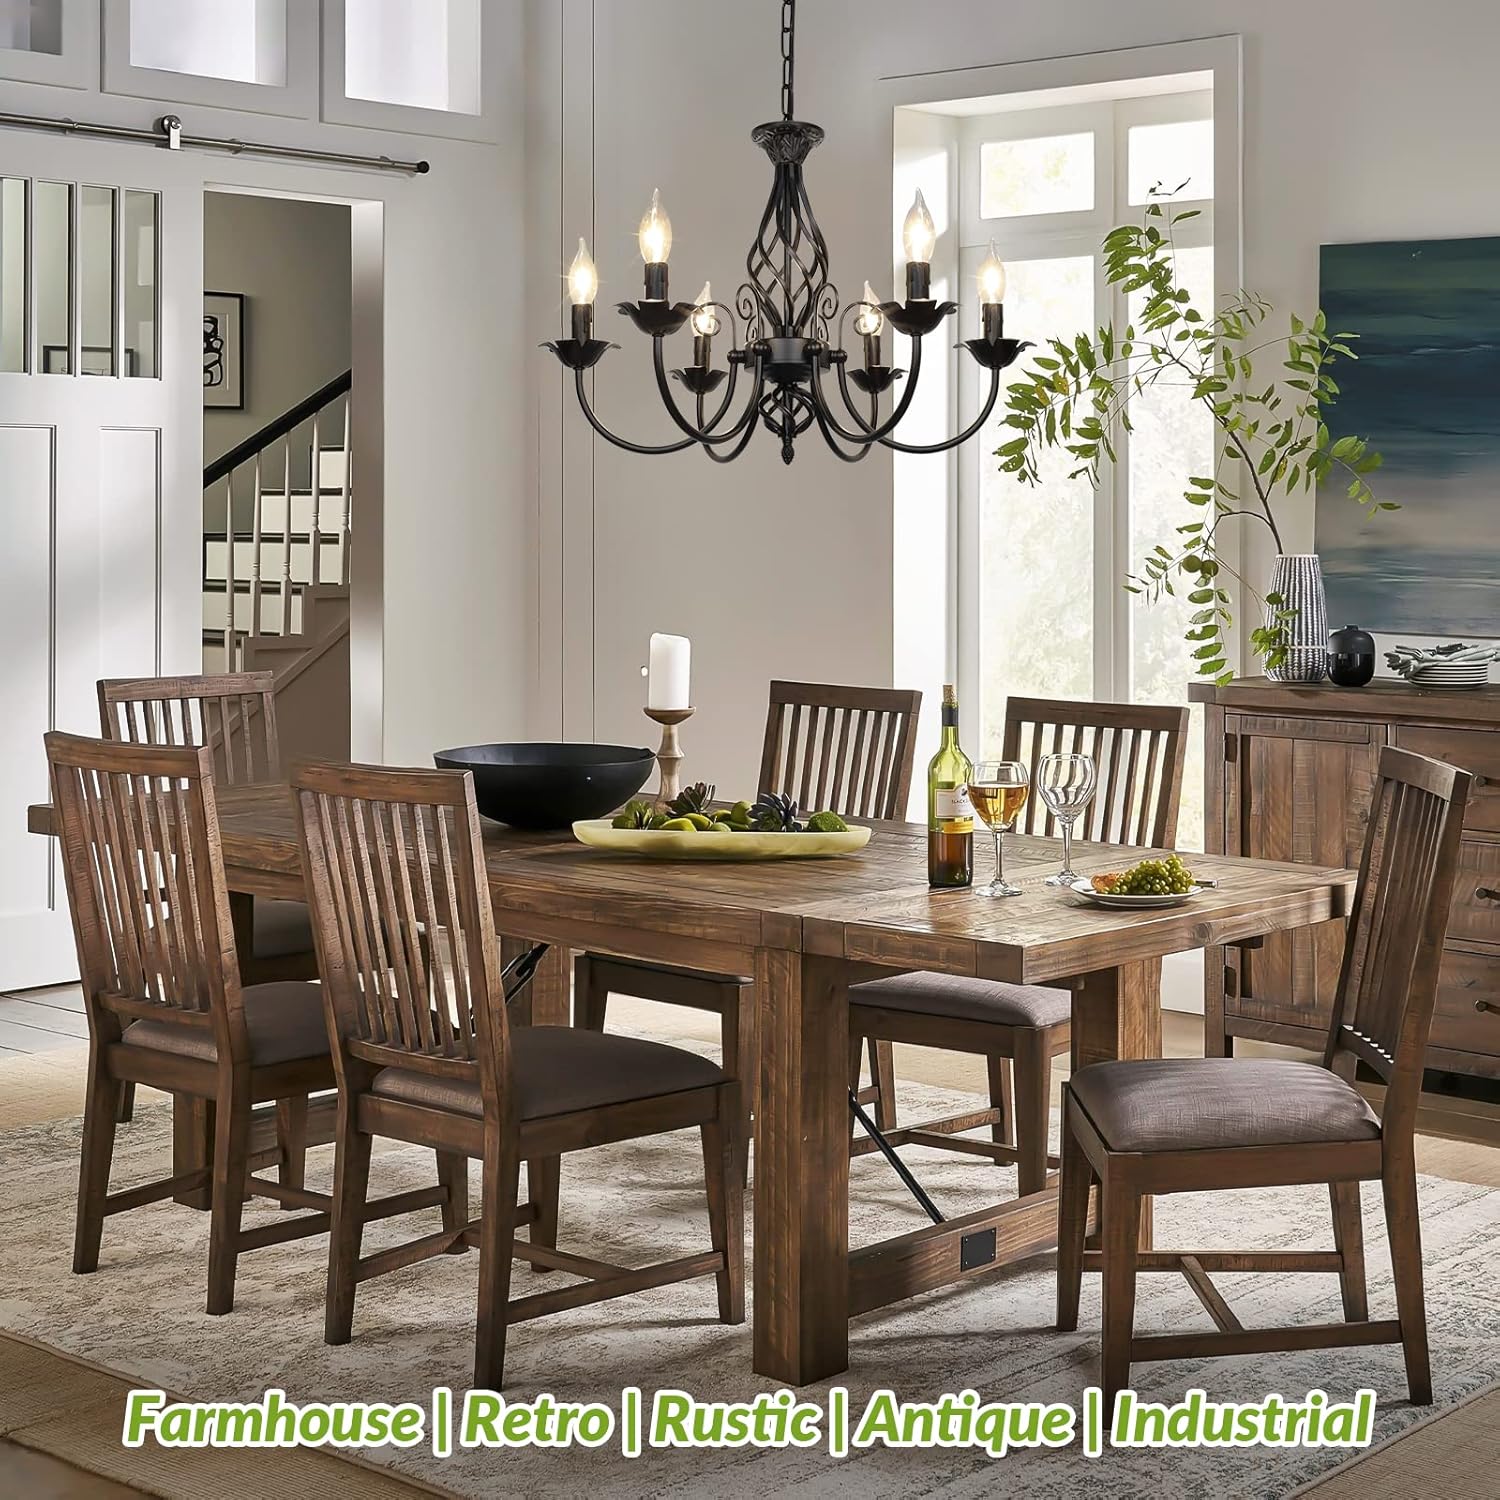
6-Light
$69.99
In stock on Amazon
Check price on AmazonMid-Range Candle-Arm and Mixed-Material ($130–$200)
The most competitive segment of this category. Grain relief deepens noticeably, matte and satin finishes become standard, and pre-assembly rates climb. Wire connections are often pre-joined at the arm-to-body junction, reducing installation time. Rattan weave is tighter and more consistent. This is where most buyers in transitional and farmhouse-adjacent rooms should concentrate their search.
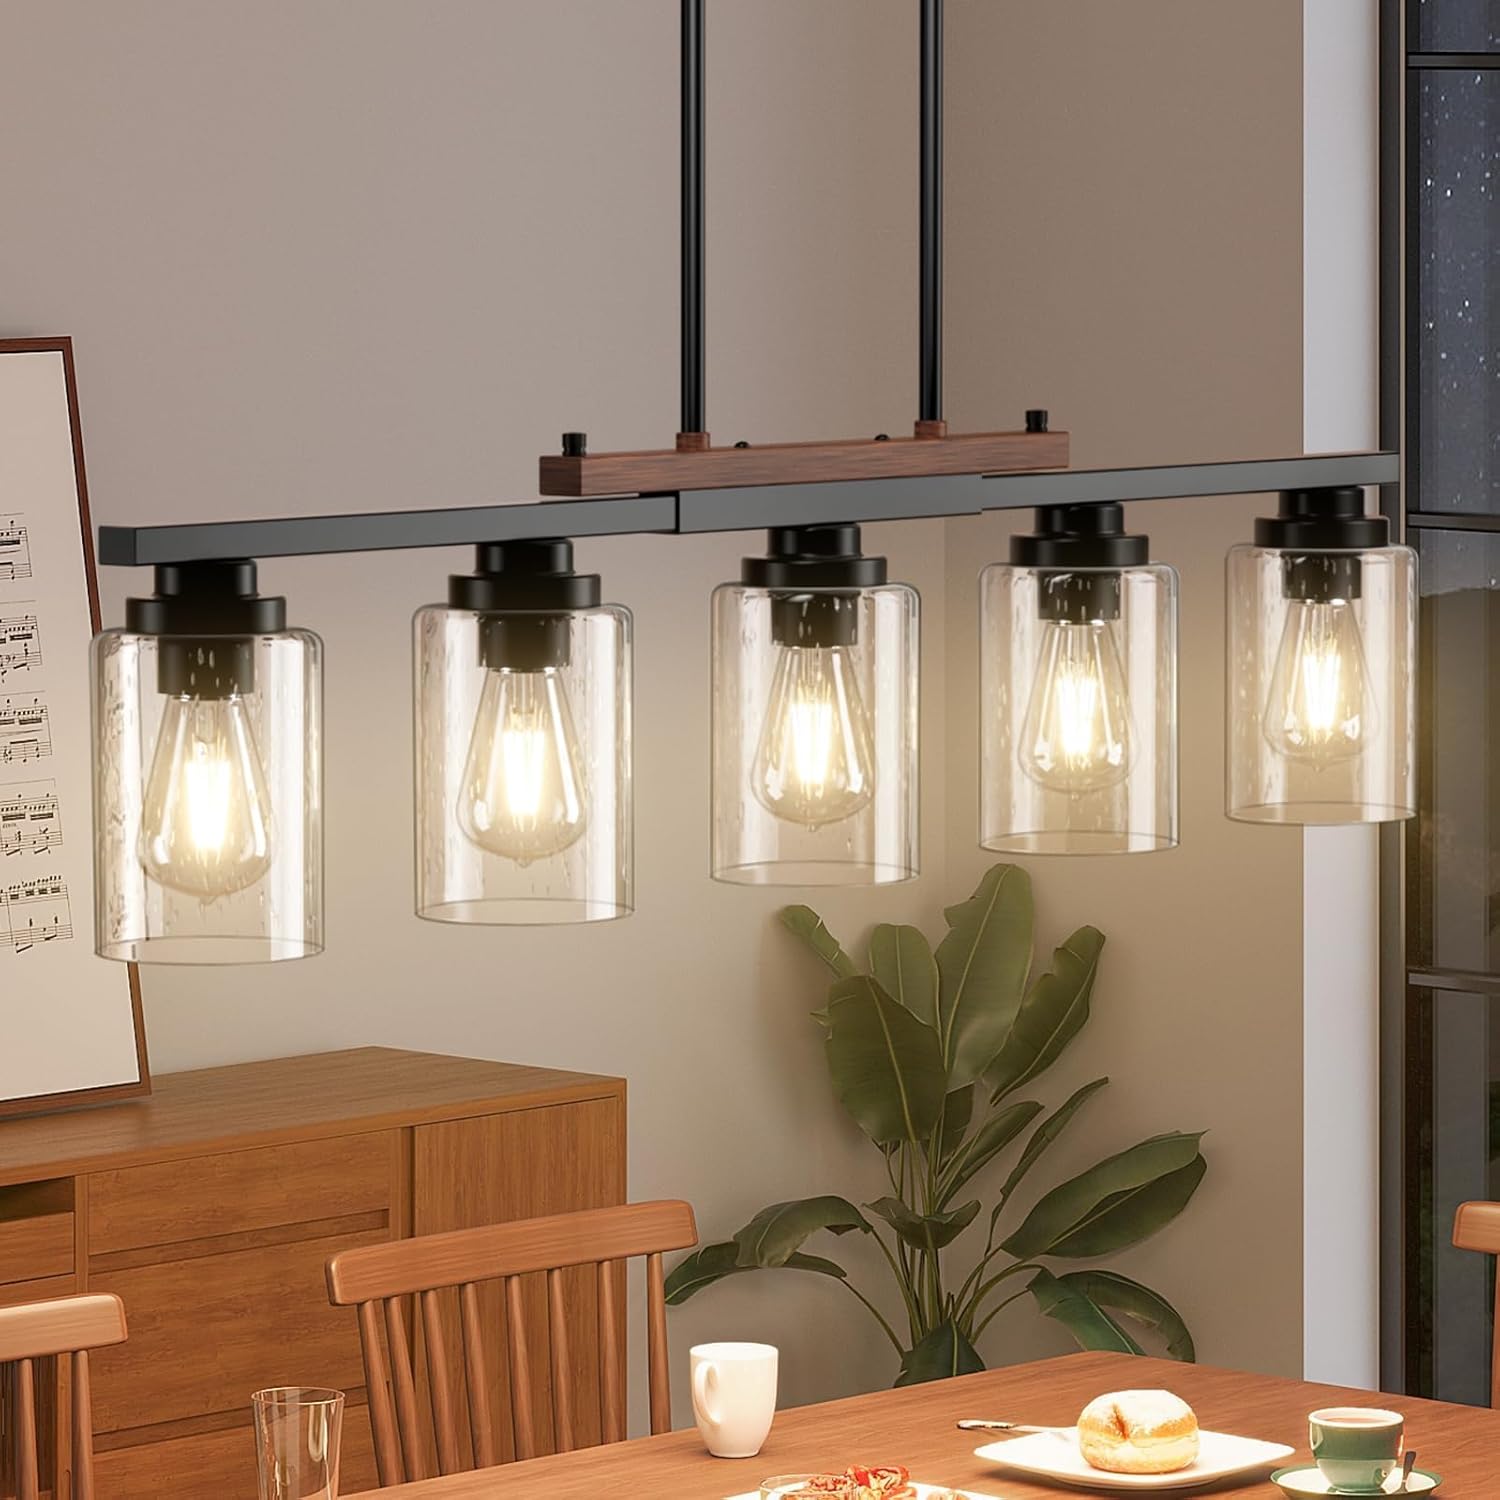
Amico
$71.99
In stock on Amazon
Check price on AmazonUpper-Tier Solid-Element and Artisan-Finish ($210–$350)
Fixtures at this price incorporate actual natural-fiber wrapping, solid-wood accent elements, or hand-applied finish variation. Visual weight at distance is noticeably higher. Rod customization options are broader, and some vendors in this tier offer pre-cut rod services. For dining rooms over 120 square feet or open-plan great rooms, the per-square-foot cost of upgrading from mid to upper tier is modest relative to the visual impact.
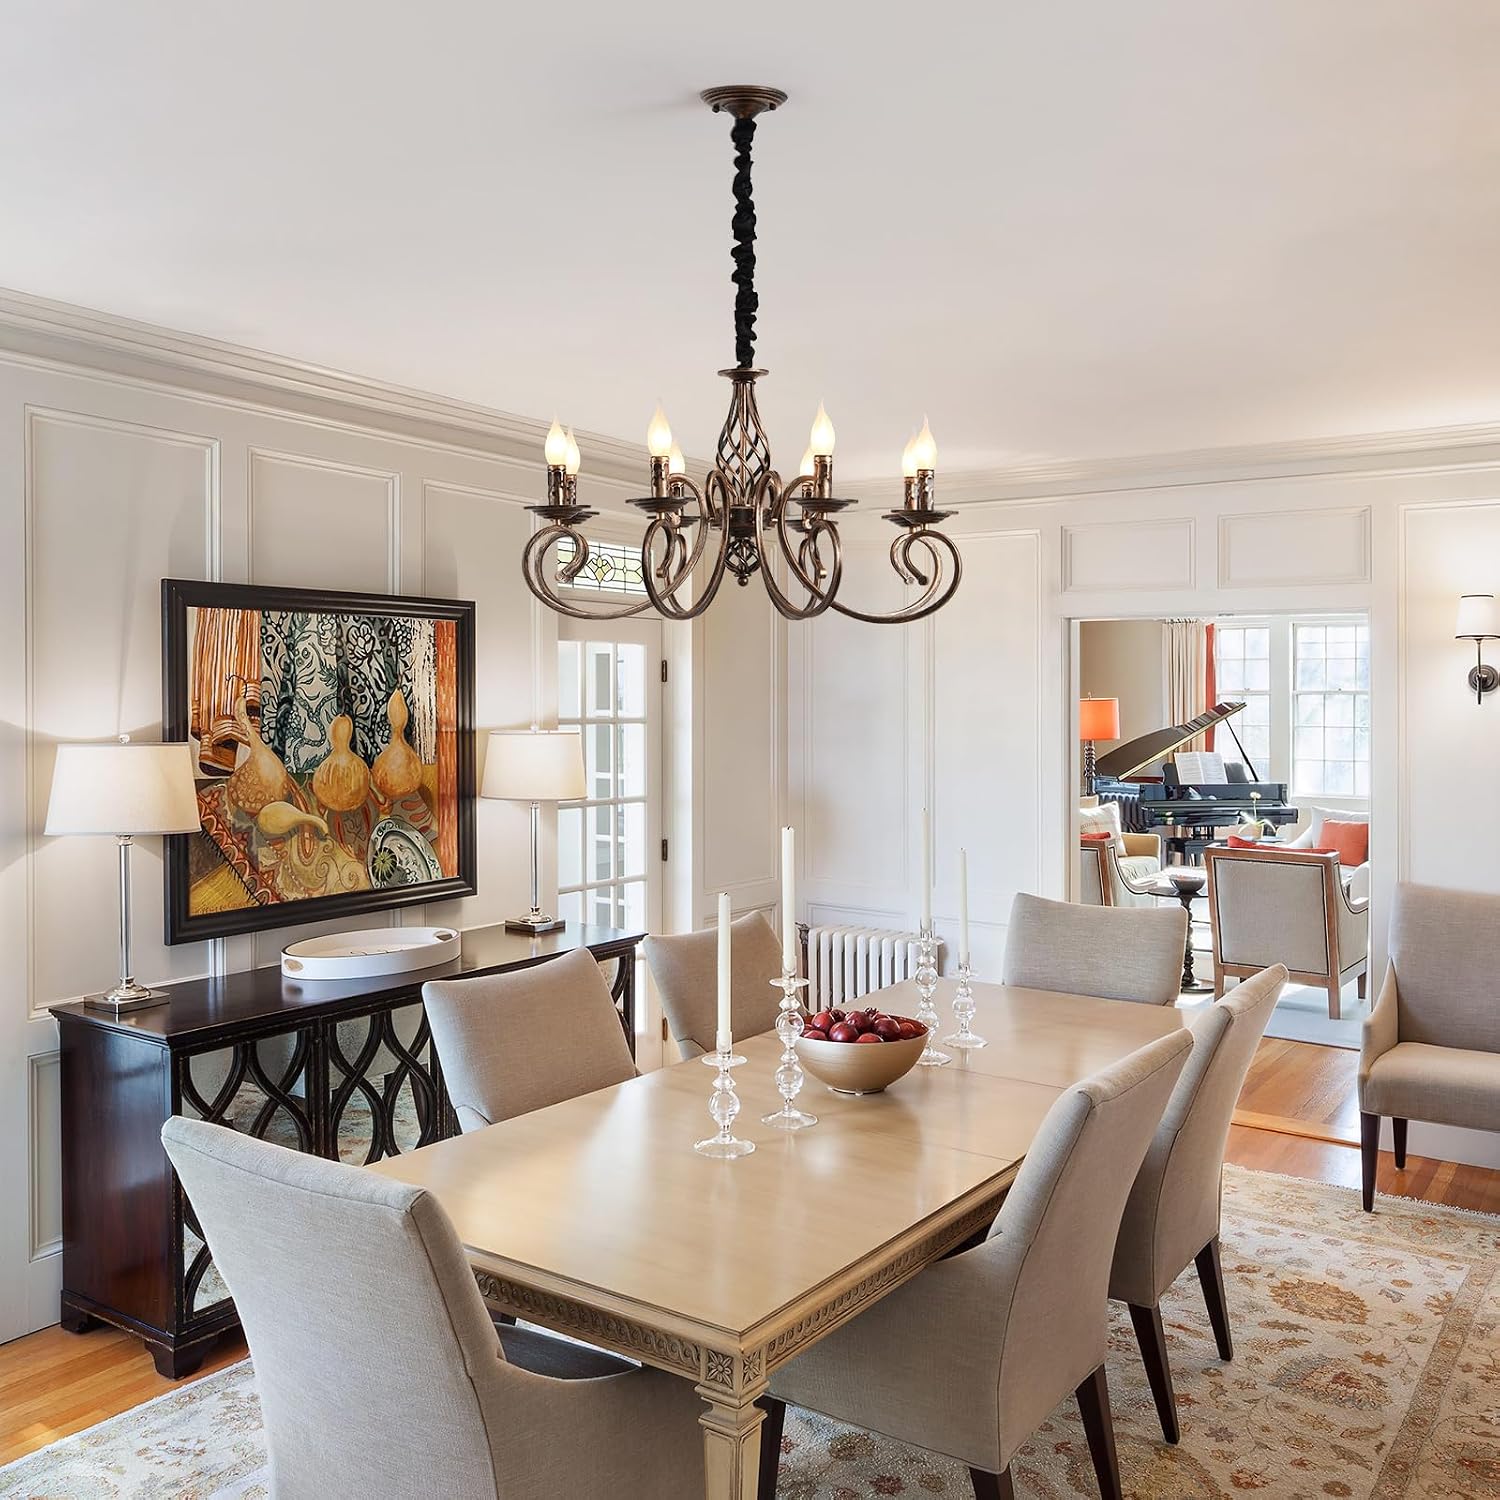
Ganeed
$99.92
In stock on Amazon
Check price on AmazonFrequently Asked Questions
How do I know if a listing’s “faux wood” texture will look realistic or cheap in person? Look for close-up detail shots under directional light. Matte or satin finishes photograph with color variation and grain shadow; glossy finishes reflect light uniformly and betray the synthetic surface. Read aggregated owner reviews specifically for material-language descriptions (“heft,” “grain depth”) versus reference-language (“looks like a photo of wood”). If close-up shots are absent or blurry, contact the vendor and ask for additional photos.
What rod lengths typically come included, and what should I do if none are the right height? Most fixtures ship with 2–4 rods in 6- or 12-inch increments. Calculate your exact drop requirement before ordering (ceiling height minus target fixture bottom minus canopy depth minus fixture body height), then verify with the vendor what combinations are achievable. If no combination works, ask about extension rods sold separately. As a last resort, a matching-diameter threaded rod from a hardware supplier can be cut and re-threaded — but confirm thread pitch matches before buying.
Do farmhouse chandeliers use standard E26 bulb bases, or do candle-style arms require E12 candelabra bases? Candle-arm fixtures almost universally use E12 candelabra bases. Non-arm fixtures with standard sockets use E26. Check the spec sheet, not the photos. The distinction matters for bulb availability, price per bulb, and dimmer compatibility.
How heavy are these fixtures, and do I need a ceiling fan brace or fan-rated box? Most faux-wood and rattan farmhouse chandeliers in the $90–$250 range weigh 10–25 pounds. Standard boxes handle up to 35 pounds of static load, per This Old House’s installation guidance. Confirm the listed fixture weight against your box rating. If uncertain, install an adjustable ceiling fan brace bar before hanging — it’s inexpensive, requires no drywall work, and removes the uncertainty.
Can I add a dimmer to a farmhouse chandelier with candelabra bulbs, and will any dimmer work? Not all dimmers work with all LED candelabra bulbs. Many budget E12 LEDs are not dimmable at all, a point Energy.gov’s “Lighting Choices to Save You Money” makes explicitly in its bulb-selection guidance. For reliable results, use a dimmer from a brand with a published bulb-compatibility list and buy bulbs confirmed on that list. Avoid mixing brands between dimmer and bulb unless you’ve verified compatibility — buzzing and flicker at low-end settings are the most common failure mode.
The decision rule: If your ceiling height is non-standard, confirm rod combinations before you order — not after. If installation friction is a real constraint, prioritize fixtures that ship pre-assembled. If you’re dimming, match bulbs to your dimmer using a published compatibility list. And if a listing’s close-up shots are absent? Keep scrolling — the vendor with nothing to hide always shows you the grain.